 ( 056 ) 20-May-2014
I bevel the edges of the tail block to match the width of the kerfing.
( 056 ) 20-May-2014
I bevel the edges of the tail block to match the width of the kerfing.
 ( 057 ) 20-May-2014
 ( 058 ) 20-May-2014
I have a special jig and template to guide the routing of the heel channel.
 ( 059 ) 20-May-2014
I use a long bit to cut the channel.
 ( 060 ) 20-May-2014
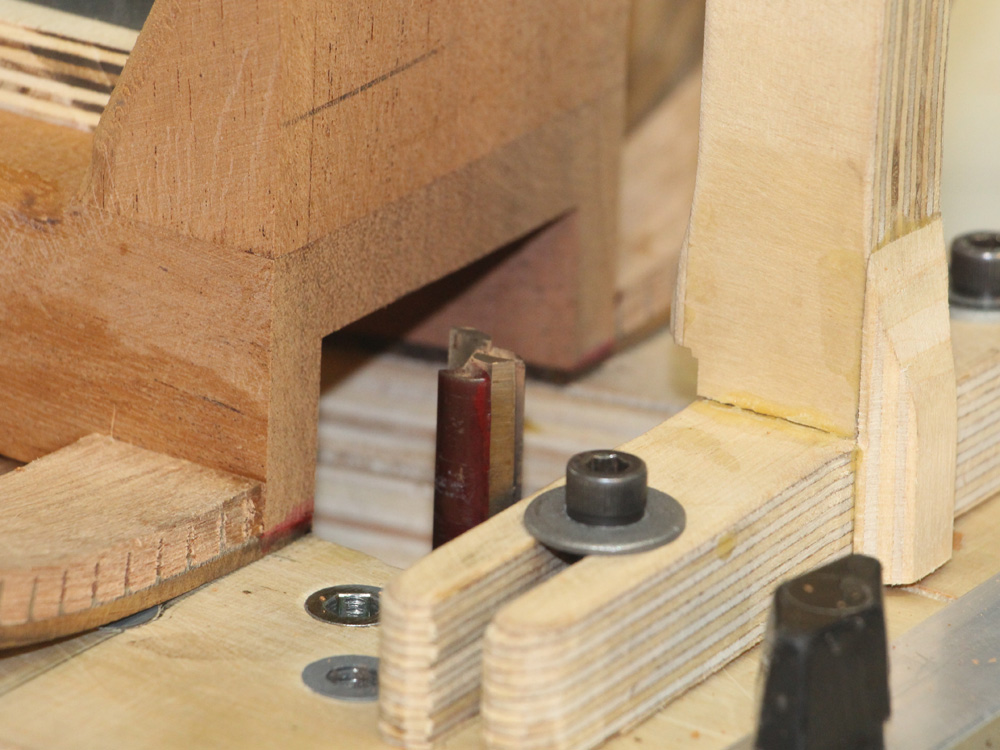
The heel channel will hide all of the neck attachment / adjustment hardware.
 ( 061 ) 20-May-2014
The tail graft gets a shape complimentary to the shape of the heel.
 ( 062 ) 20-May-2014
I use a set of forms and jigs to shape the bottom of the braces.
 ( 063 ) 20-May-2014
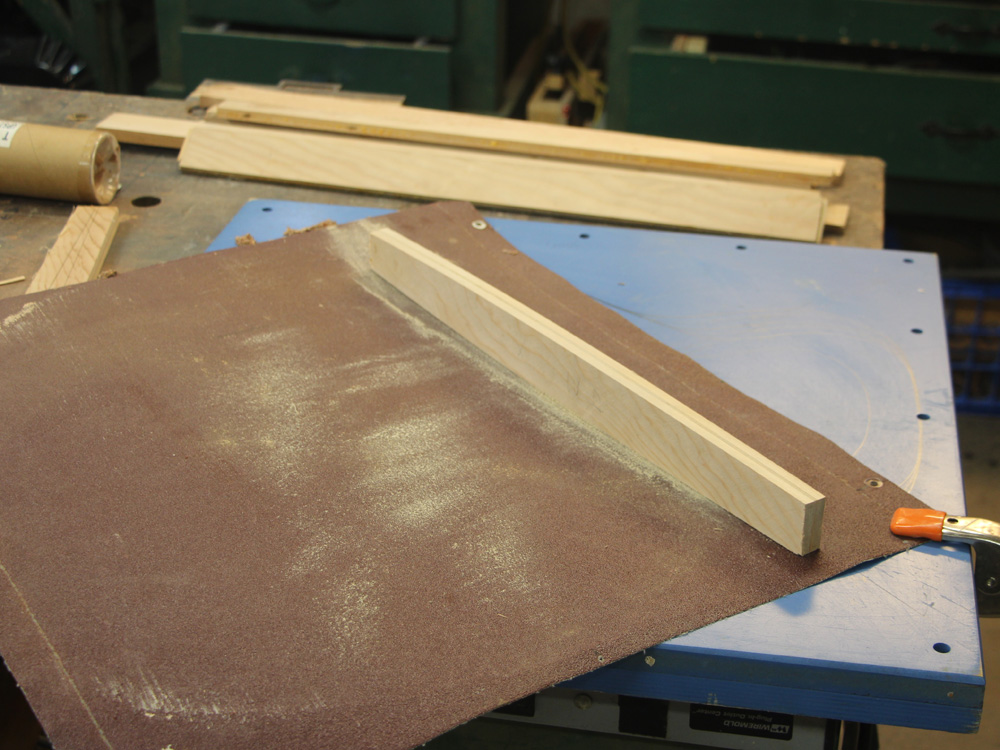
I mount the brace blank on the template and then press it into the belt sander. The vertical aluminum fence limits the movement of the template. When no more wood can be sanded away, the bottom of the brace has the shape of either the top or bottom plates.
 ( 064 ) 20-May-2014
I do a little fine tuning on the sanding plates.
 ( 065 ) 20-May-2014
A final check.
 ( 066 ) 20-May-2014
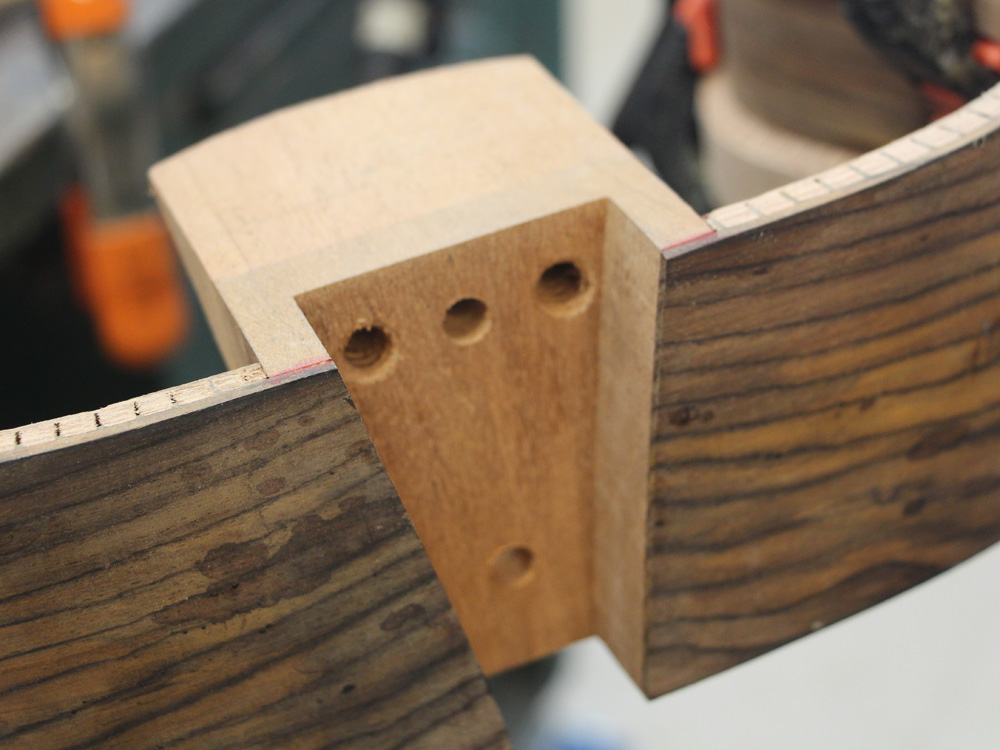
Drilling the holes in the web of the brace.
 ( 067 ) 20-May-2014
The router table creates the I-beam channels.
 ( 068 ) 20-May-2014
This brace blank has two braces in it. The blank will be cut down the middle and shaped.
 ( 069 ) 20-May-2014
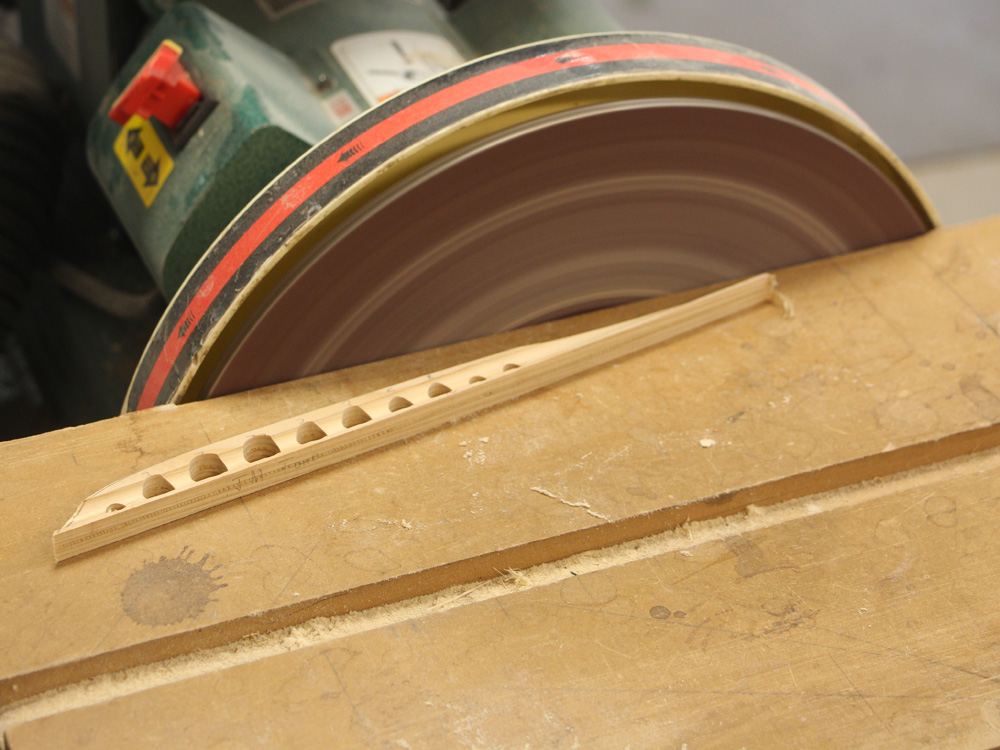
A disk sander shapes the contour of the brace.
 ( 070 ) 20-May-2014
And the belt sander.
 ( 071 ) 20-May-2014
I use the band saw to cut the lap joint in the X-braces.
 ( 072 ) 20-May-2014
 ( 073 ) 20-May-2014
The finger braces being sanded into shape.
 ( 074 ) 20-May-2014
I lay out the braces to check their fit.
 ( 075 ) 20-May-2014
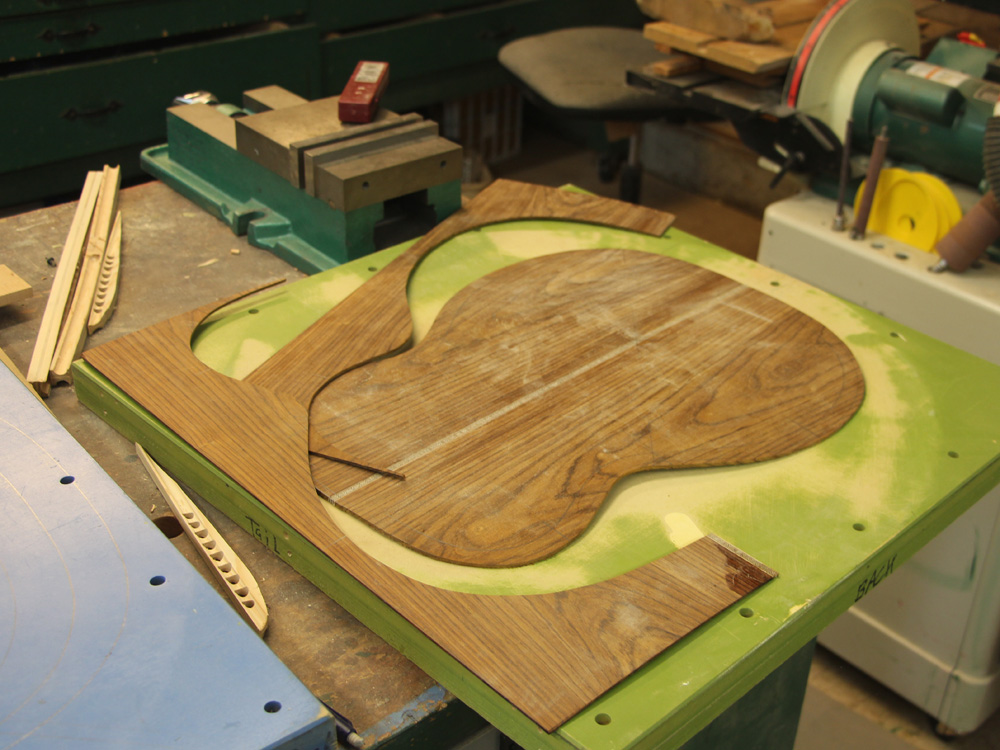
After marking the outline of the guitar, I use the band saw to cut out the back plate.
 ( 076 ) 20-May-2014
I will use the excess for other parts of the guitar.
 ( 077 ) 20-May-2014
Now the go-box is used to glue the braces in place.
 ( 078 ) 20-May-2014
Lots of sticks.
 ( 079 ) 20-May-2014
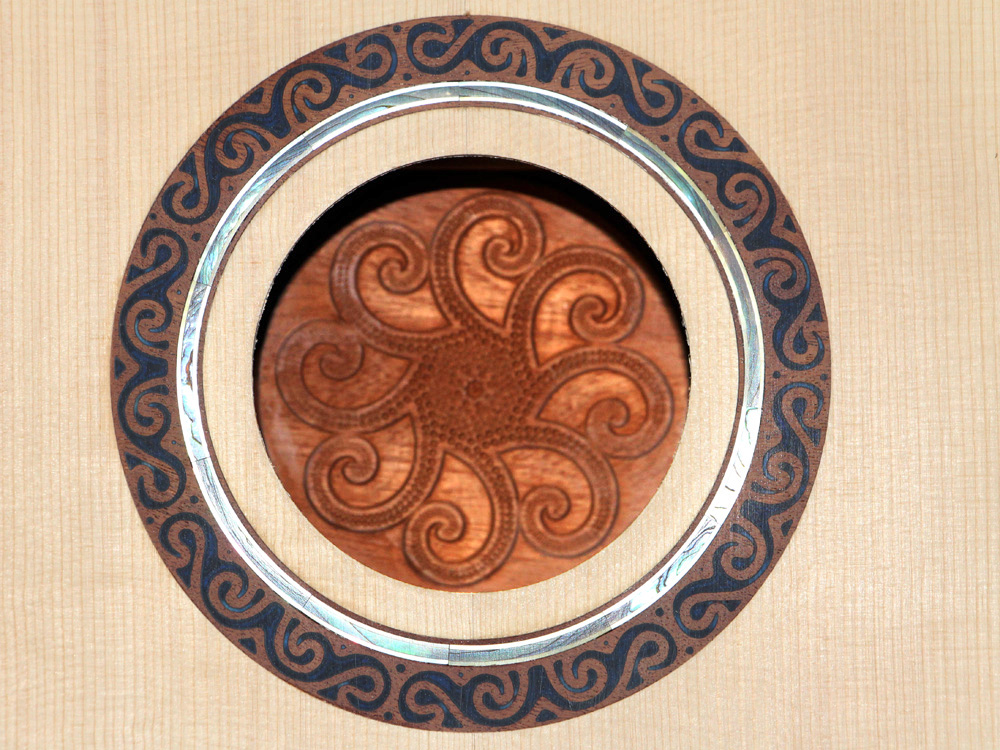
I used the CNC Router to create the Rosettes.
 ( 080 ) 20-May-2014
And the go -box is used to glue the contra-rosette in place.
 ( 081 ) 20-May-2014
The back reenforcing strips get glued in place.
 ( 082 ) 20-May-2014
The CNC router cuts out the channel for the rosette.
 ( 083 ) 20-May-2014
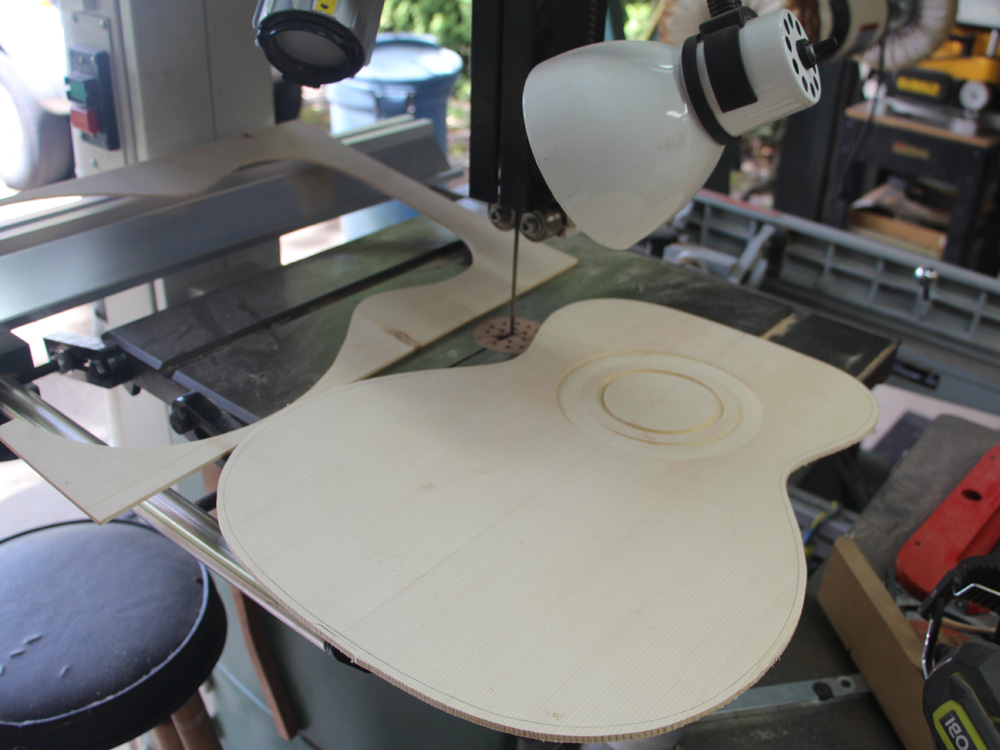
And now I cut out the top plate.
 ( 084 ) 20-May-2014
And I glue the rosette in place. A few taps with the hammer ensures a firm fit.
 ( 085 ) 20-May-2014
A look at the rosette set.
 ( 086 ) 20-May-2014
 ( 087 ) 20-May-2014
The process I use requires that I be able to accurately place the braces in position several times. To do this, I use a little button that is glued to the top / back. I drill a shallow hole in the bottom of the brace and put a short length of dowel in the hole.
 ( 088 ) 20-May-2014
I put a drop of glue on the end of the buttons and then press the braces in place. When the glue dries the buttons remain glued to the plate. Now I can put the braces back in place, exactly.
 ( 089 ) 20-May-2014
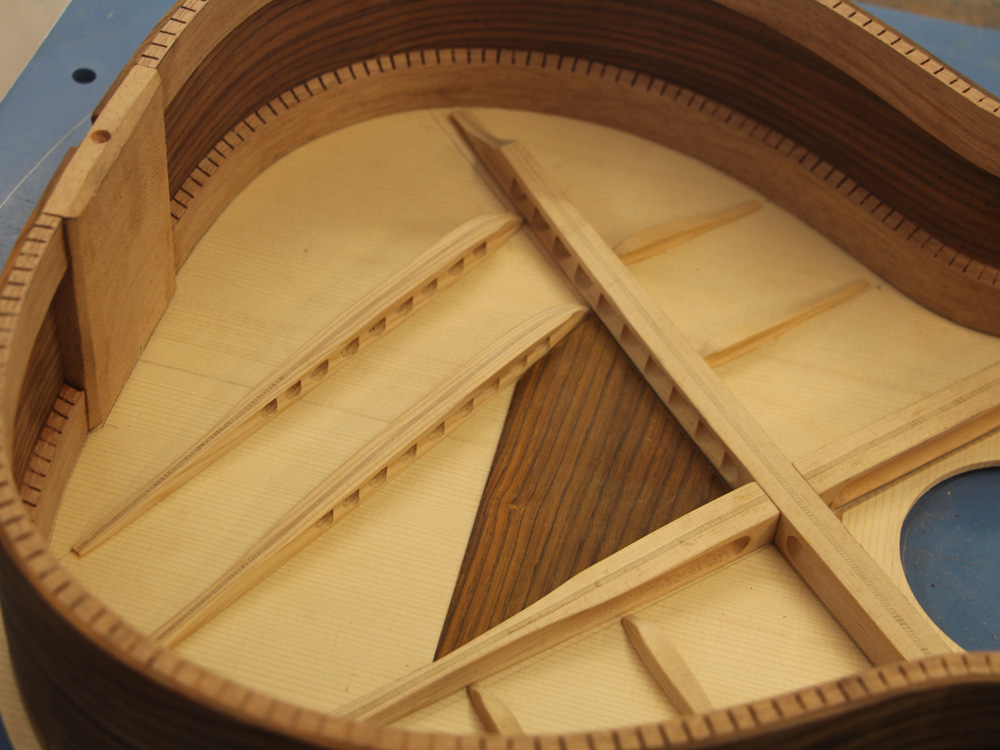
Here, the A-brace gets a little pedestal where it meets the X-brace.
 ( 090 ) 20-May-2014
With the braces in place I lay the rim on top and mark the intersection with a sharp blade.
 ( 091 ) 20-May-2014
I trim the ends of the braces to the mark..
 ( 092 ) 20-May-2014
And then the rim fits over the braces perfectly.
 ( 093 ) 20-May-2014
 ( 094 ) 20-May-2014
 ( 095 ) 20-May-2014
 ( 096 ) 20-May-2014
 ( 097 ) 20-May-2014
Now I can glue all of the braes in place.
 ( 098 ) 20-May-2014
( 099 ) 20-May-2014
Description
 ( 100
) 20-May-2014
( 100
) 20-May-2014